Welcome back!

It’s been a busy few days over here – crafting all these teeny tiny critters to bring you these tutorials! It’s one of my favorite projects ever though, so I’m super excited to share!

Before we get started I have just a few small notes 🙂
1.These patterns arent very complicated but I do recommend glancing over the tutorials before you begin each one, just to avoid any unnecessary mistakes or wastes of your precious felt.
2. I have broken down the tutorials into two separate posts with 3 critters in each.
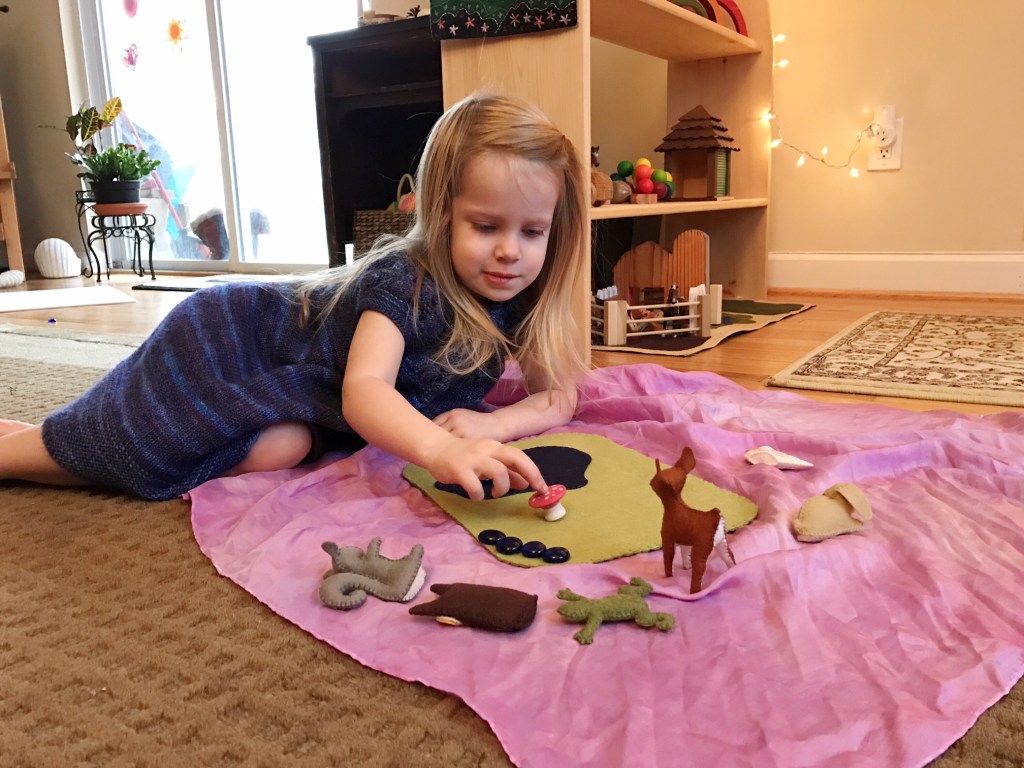
Part One – Fawn, Owl, Bunny

Part Two – Squirrel, Duck, Frog


3. If you havent heard me say this before, you’ll probably hear me say it a million times from now on – I LOVE WOOL FELT! I really really do. Its amazing to work with and it holds up very well with play. It doesnt pill and frizz out like acrylic felt, it doesnt stretch or warp when you’re stitching, and best of all, it doesnt melt when you iron on your freezer paper templates! There are many online vendors that sell 100% wool felt, but my favorite is from Weir Crafts. Their European merino felt comes in a ton of beautiful colors and they ship pretty quickly. Another good resource, especially if youre just starting out is Benzie Design. They sell a good quality blended felt at very low cost in tons of different colors. I actually like to keep a stash of their felt on-hand for prototyping new patterns. If I mess up I dont have to worry about wasting the more expensive wool.
4. In this vein, I use only 100% wool fiber for stuffing as well. I find it much easier to work with than polyfiber and I think it really makes the difference between just a toy and a truly heirloom-quality product.
5. To avoid confusion, I have tried my best to keep the text of each step beneath the photo that corresponds to it.
That said, onto…
MATERIALS:
- Woodland Critters Pattern – Available as a PDF download HERE
- Felt, in a variety of colors, for each critter. Feel free to use the same colors I did, or come up with your own!
- Stuffing fiber
- Stuffing tools – I like the plain old bamboo chopsticks you get with takeout; they are tapered at one end which makes it very easy to position and sculpt your stuffing (especially if using wool). You will also want something quite slim, such as a bamboo skewer (the blunt end!), for all the tiny arms and legs.
- Coordinating embroidery thread – I like to separate mine down to a single strand for these projects.
- Embroidery needle
- Freezer paper for tracing the patterns and cutting out the felt
- Tiny binder clips or small sewing pins
Okay…here we go!
FAWN

Cut out all the pieces according to the pattern in the numbers indicated. They should look like this.

Before peeling the freezer paper off the belly gusset piece, trace the FOLD and DART lines on the reverse side. If you can’t directly trace, then just draw them as accurately as you can.
Fold each leg over on the indicated line and back stitch along the curved dart line. These darts are what will allow your fawn to stand upright.

Next, we are going to baste the ears to the head. Lay both ears out in front of you so that they are mirror images of each other, with the top tips pointing toward each other. Take the one on your right, fold where the arrow indicates on the pattern and secure it will a couple small stitches as shown.

Leaving your thread intact, baste the ear to the inside of one of the body pieces, as shown. Tie off the thread.
Repeat these steps for the other ear and body pieces, making sure they are mirror images of each other. Use the first ear to align the second ear so they look even when you’re finished.

Beginning at point A, stitch down to about point B, and do not tie off your thread.
Clip or pin the left front foot of the belly piece to the inside of the left front foot of the body.

Clip or pin as needed to keep the pieces aligned. Center point B1 of the belly piece at point B and make an anchoring stitch. Continue stitching, keeping the edges aligned, around both legs and up the tail to point B2.

Clip or pin along the top of the body pieces to keep them aligned and then clip or pin the other set of back feet together. Continue stitching from point B2 back to point B/B! at the neck.

Bring your needle back through the inside and out the very first stitch at point A.

Center point A1 of the head gusset at point A and make an anchoring stitch.


Continue stitching to the right, over the ear, to point A2, and back to point A.

Again, without tying off your thread, just bring the needle through the inside and out through the last stitch at point A2 on the gusset. Make a few stitches down the body and leave your thread.

Now it’s time to stuff! Start with the head, then carefully and firmly stuff each leg. This is where a slim stuffing tool, like a bamboo skewer, will come in really handy. Use very very small amounts of stuffing at a time to avoid lumps and gaps. The firmer you can stuff the legs, the better it will stand up.


Continue stuffing the body and stitching the opening closed as you go.
OWL

Cut out all the pieces according to the pattern in the numbers indicated. They should look like this.

Begin by stitching the two small circles onto double-circle eye piece. I chose to just do a simple star shape but you can stitch them on however you like.

Next, stitch the belly piece onto the front of one of the body pieces.


Stitch the eyes onto the body piece. They will overlap the belly piece a little bit.

Stitch on the beak. Again, I chose to do four simple stitches for this out of ease, so feel free to attach it how you like.

Beginning at point A, stitch up around the body, over the head, and back down to point B.


Spread the opening apart enough to center one tip of the bottom gusset at point B and make an anchoring stitch. Match up the edges as you go and stitch to point A.


Stuff the owl through the opening and then stitch back to point B to close.
Hoot hoot!
BUNNY

Cut out all the pieces according to the pattern in the numbers indicated. They should look like this.


Using a couple of small stitches, baste the ears to the head gusset piece as shown. This will give the ears a floppy look. Alternatively, you could skip this step and baste the ears to the insides of the head pieces to make them pointy.

Clip or pin the two body pieces together and begin stitching at point A down to point B, and do not tie off the thread.


Center point B1 of the belly gusset piece at point B and make an anchoring stitch.


This next part can be a bit awkward so have patience and work slowly! You will have to match up the edges with every stitch while going around the front foot – it seems like it won’t work, but it will! Continue stitching all the way to point B2 and then back up to point B/B1.

At this point, without tying off the thread. I like to bring my thread back through the inside of the body, out through the very first stitch at point A and under the top loop, as shown.

Center point A1 of the head gusset at point A and make an anchoring stitch. Lining up the edges, continue stitching around the head, to point A2 and back around to A/A1. Tie off the thread.


Coming down to point C, just under the tail, begin stitching and continue to about point D – You’ll want to leave an opening big enough to get the stuffing in.
Stuff the bunny and stitch the opening closed as you go.


Embroider facial features as you wish and there’s your tiny bunny!
For Part Two of this series please click HERE

Leave a comment