“A field of water betrays the spirit that is in the air. It is continually receiving new life and motion from above. It is intermediate in its nature between land and sky.” ~ Henry David Thoreau
Some of the most memorable outings I’ve taken with my children involve being somewhere near a body of water. I love the serenity of gentle lakeshore waves, the wonderment of a burbling stream deep in the forest, and the endless curiosities of a pond.

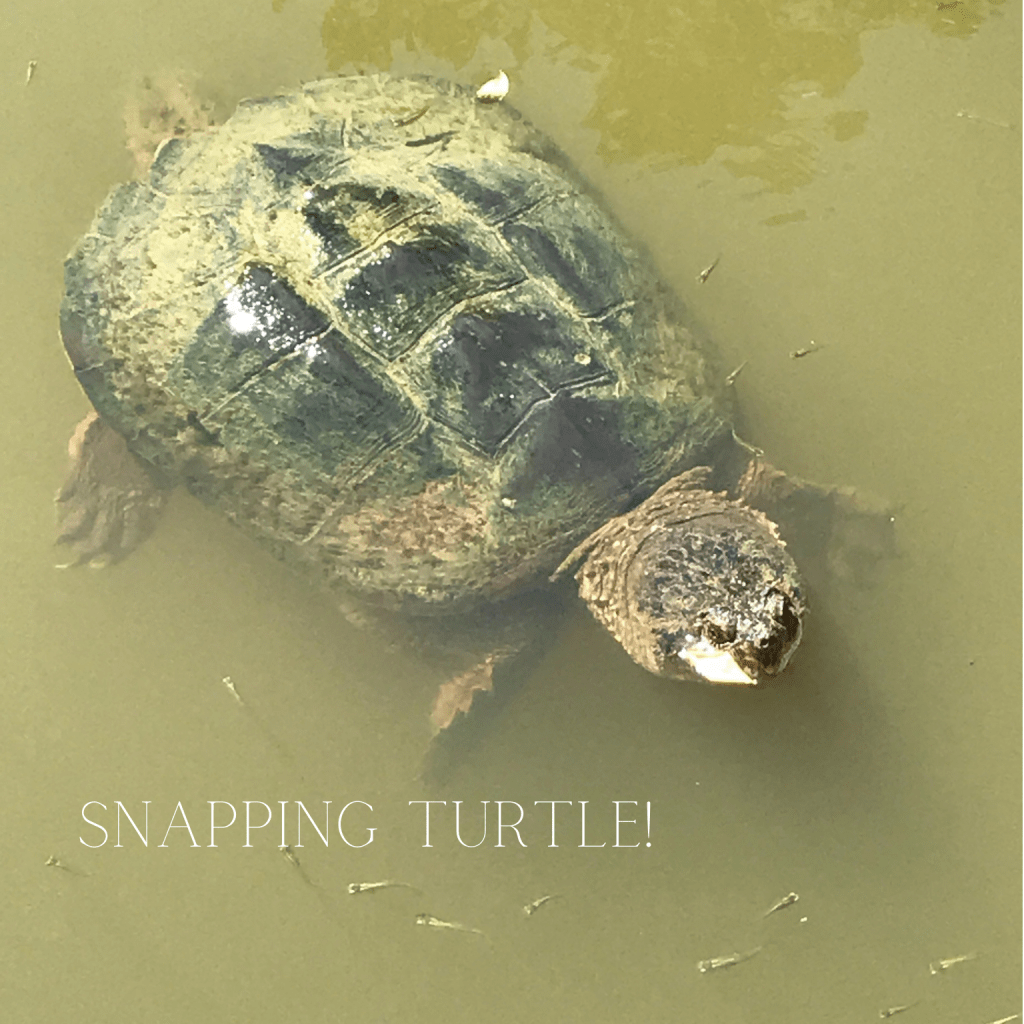
What better place to see so many different types of animals, birds, fish, reptiles and insects all in one ecosystem?
If you love to explore nature with your children too, there is a fun bonus at the end of the post!
My kids, like most, love to mimic in play what they encounter in real life, and there’s no better play than being connected to nature and learning at the same time!
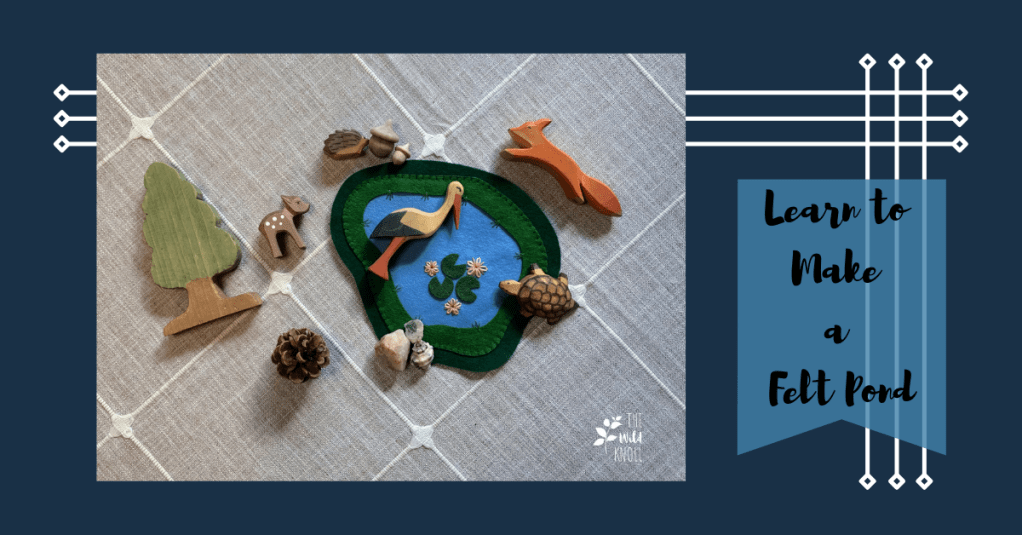
If you have sewn, or plan to, the patterns I have for Miniature Woodland Critters, they go perfectly with this little pond and provide a relatively diverse array of pond/woodland wildlife.
You will need :
You can also download a text-only cheat sheet of instructions if you can’t be tied to a screen 🙂
MATERIALS:
2-3 different shades of green felt, approx. 10×8 in. each
Blue felt approx. 7×7 in.
Coordinating embroidery floss
TOOLS:
Iron (if using freezer paper)
Scissors
Sewing Needle
Pins
Glue (optional)
To begin:
Either trace or print the three sections of the pattern, and the lily pads, onto freezer paper for ironing on to cut the felt, or otherwise trace and cut out the felt pieces accordingly.

1 – Attach the lily pads to the water piece, either with glue or stitching (I chose hot glue for this one), and then stitch on any flowers or other details you wish.
I made these flowers with a mix of ‘Lazy Daisy’ and straight stitches, in slightly varying sizes.

2 – Align the ring-shaped grass piece onto the water piece and pin them together.
3 – Attach the two pieces with 3 small straight stitches, starting from the top (in the water) and joining at the same point in the grass piece. End with a small loop around the bottom and continue around the pond at intervals.
4 – Align water piece onto the back piece and, bringing your needle through the back of the water piece so the tail doesn’t show, stitch the two together. You can use whatever stitch you are comfortable with here – I used the Blanket Stitch. Bring the needle out the back to tie off, but before cutting, run the needle back through and pull the knot to the inside so it doesn’t show.
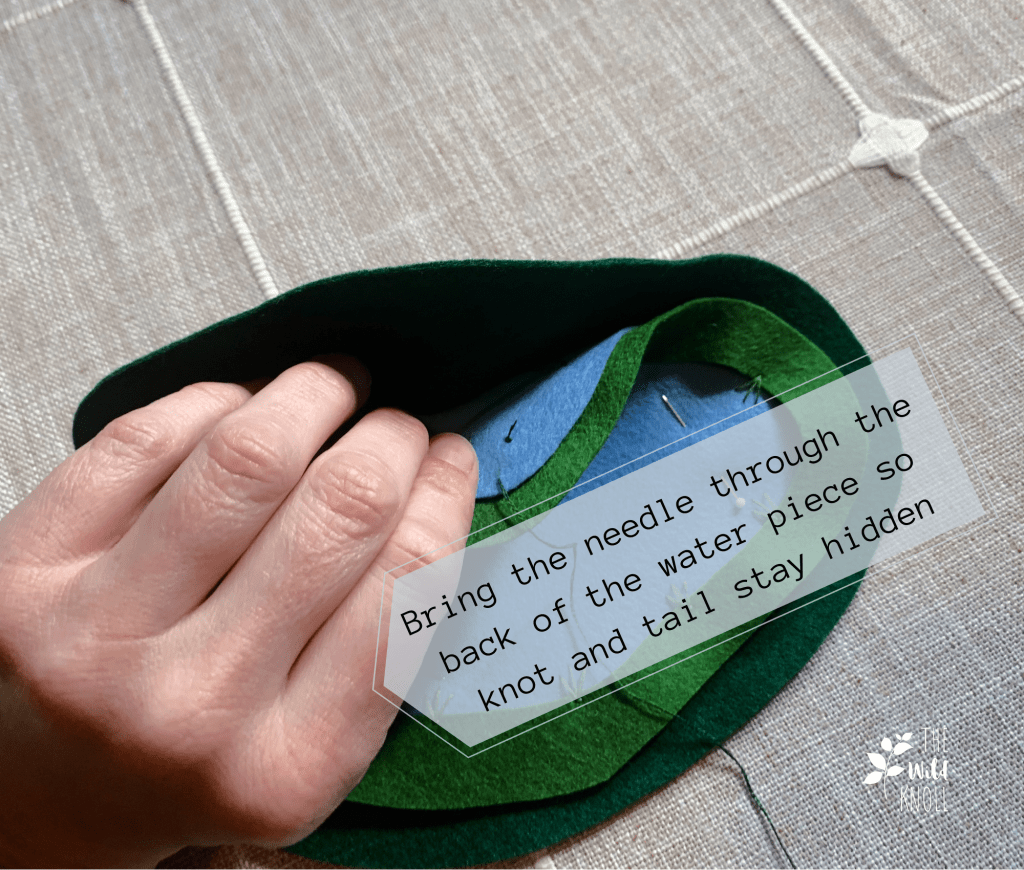
You’ll end up with very small and neat, barely visible stitches on the back but it will lay nice and flat and you won’t have to worry about anything coming unraveled!

As a special bonus nature study or homeschool aid, I’ve included a simple worksheet for observing and recording 🙂 You could even do one for each season at your favorite place and take note of all the differences you see!

Leave a comment