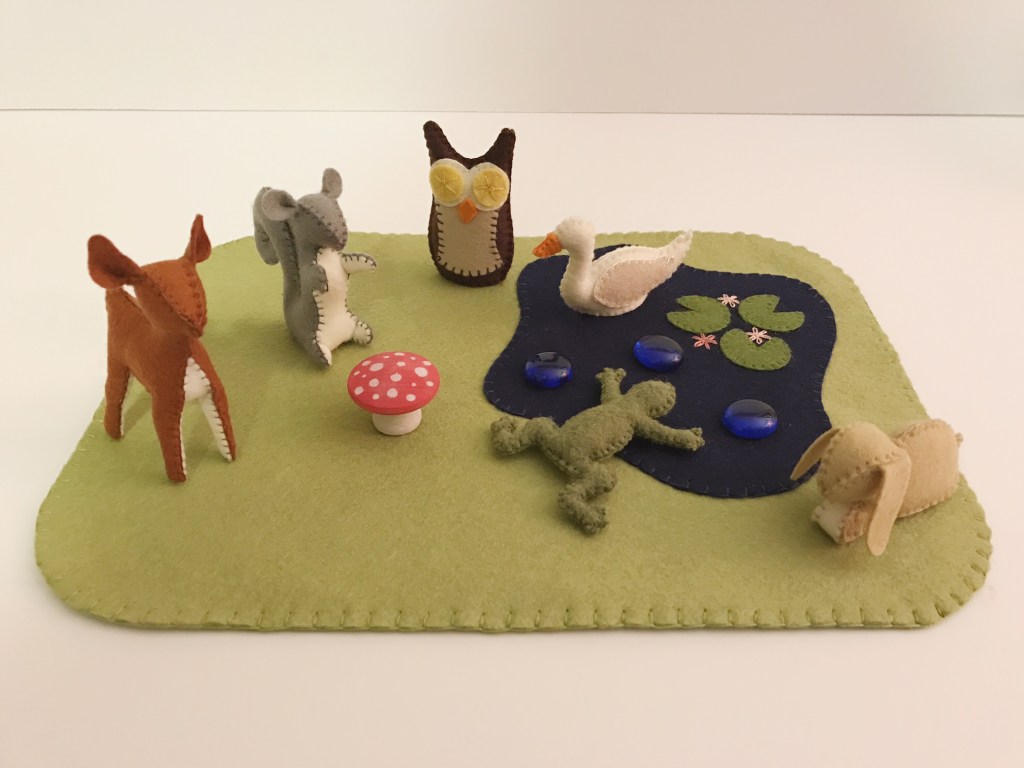
Welcome to Part Two of the Woodland Critters Tutorial! Part One consisted of the Fawn, Owl and Bunny, and now we’ll be working on the Squirrel, the Duck and the Frog!

Again, these are easy, but I recommend looking over the tutorials before you begin just to avoid unnecessary mistakes and waste.
Happy Stitching!

MATERIALS:
- Woodland Critters Pattern – Available as a PDF download
- Felt, in a variety of colors, for each critter. Feel free to use the same colors I did, or come up with your own!
- Stuffing fiber
- Stuffing tools – I like the plain old bamboo chopsticks you get with takeout; they are tapered at one end which makes it very easy to position and sculpt your stuffing (especially if using wool). You will also want something quite slim, such as a bamboo skewer (the blunt end!), for all the tiny arms and legs.
- Coordinating embroidery thread – I like to separate mine down to a single strand for these projects.
- Embroidery needle
- Freezer paper for tracing the patterns and cutting out the felt
- Tiny binder clips or small sewing pins
Okay…here we go!
SQUIRREL

Cut out all the pieces according to the pattern in the numbers indicated. They should look like this.

Before peeling the freezer paper off the belly gusset piece, you will want to trace the indicated FOLD and DART lines onto the reverse side of the felt. If you aren’t able to directly trace, just carefully draw them as best you can.
Fold each leg of the belly piece and stitch along the curved lines. I use a back stitch for this step. It will look like this. These darts are what allow the arms and legs to stay pointed forward instead of splaying outward. Set the belly piece aside for now.

With the two body pieces clipped or pinned together begin stitching (using a blanket stitch) at point A down to point B and leave your thread hanging.


Clip the arm of the belly piece to the arm of the body piece, with the belly piece facing toward you, as shown and make an anchoring stitch at point B/B1 at the top of the belly piece. Make sure to keep the edges and the arms aligned as you stitch. Continue stitching around the arm, down the belly and around the leg up to point B2 at the bottom tip of the gusset.


Again, making sure that the body pieces are totally aligned, continue stitching back the other way up to point B. Pull your needle back through to the inside and tie off the thread.

This is sort of an optional step but I find it helps keep everything even for the following step. I like to fold the ears in half lengthwise and put in a couple stitches, and then baste them to the inside of each side of the head with a couple of stitches. This keeps you from having to fiddle with keeping them straight and in the right place when stitching in the head gusset.


Bring your needle and thread out through the very top stitch at point A, center point A1 of the head gusset at point A and make an anchoring stitch. Continue stitching to point A2 and back around to point A/A1.


At this point I like to bring my needle and thread all the way back through to the back of the head and make two or three stitches before tying off.

This is when you will want to stuff the head.


Clip or pin the tail together and bring your needle out through the last stitch at point B2, then continue stitching around the tail to about point C on the outer curve of the tail. This is where you will begin stuffing the tail up to the stitches, then stitch a bit more and stuff as you go. Continue this way until point D.

This is where you will want to use that slim stuffing tool. Get the arms and legs stuffed and then continue stitching and stuffing the body as you go until you close the opening.


Embroider facial features as you wish and, voila! You have a teeny tiny squirrel! If you’re feeling extra crafty you could even fashion a tiny acorn for him to hold J
NOTE – I made the ear pieces extra long so there would be plenty of room to stitch them in, and I ended up having to trim the tops of mine once I was done because they were too tall. It’s a super easy little adjustment.
DUCK

Cut out all the pieces according to the pattern in the numbers indicated. They should look like this.


Begin by stitching the wing pieces onto the body pieces as shown. Be sure to put them on opposite sides so they are reverse images of each other.

Stitch a beak piece onto a body piece just across the top, as shown. After stitching on the second one, leave your thread hanging instead of tying off.

Trim the beak tips off the white body pieces.

Stitch the beak together and tie off your thread.


Begin stitching at point A, and when you reach the beak at point B simply bring your thread through the inside of the body pieces to point C on the other side of the beak.
Continue stitching around the body and tail to point D.

Spread the opening apart enough to center one tip of the bottom gusset at point D and make an anchoring stitch.

Line up the edges and stitch to the other tip, leaving the other side open for stuffing.
Stuff and stitch the opening closed as you go. You’ll want to keep the stuffing a bit lighter toward the bottom so that it doesn’t make the gusset bow out – this will allow your duck to sit up straight.

QUACK QUACK!
FROG
NOTE – There are two slightly different frog patterns and these instructions are the same for both.

Cut out all the pieces according to the pattern in the numbers indicated. They should look like this.


Clip or pin the two pieces together and begin stitching at point A, around the foot to point B. Stuff the foot.

Continue stitching to point C and continue stuffing the leg.

Stitch up to point D and stuff the other foot.


Stitch a bit more to about point E and stuff the rest of the leg.

Continue stitching to point F, just under the head, and then stuff the arm.


Stitch to point G and stuff the other arm, the head, and the rest of the body.


Stitch the opening closed as you stuff, and remember – It’s not easy being green!
For Part One in this series please click HERE

Leave a reply to Woodland Critters Tutorial – Part One | The Wild Knoll Cancel reply